How to convert .m4a files to .mp3 using iTunes.
I have been asked several times for advice on how to organize a music library with mixed file formats and what tools are best for the task. There are several ways to go about this and it is mostly based on preference. My advice would be to see which format most of your files are in now, and convert the minority to what the majority of files are in. For example, say you have 75% mp3 and 25% m4a, I would suggest converting those 25% into mp3 and using a tool like MusicZen to rename, move, and organize your files into the appropriate folders. Of course it is ultimately up to you which format to pick and which tool to use. You may decide to convert the mp3s instead and there are many great programs out there that can help you organize file formats other than mp3s.
Assuming you are trying to convert to mp3s, here is the quickest way I have found to do this without much hassle and it involves using iTunes. Those of you who do not have iTunes installed or rather not use the program, I would suggest doing a google search for mp3 encoders and you will find many tools to choose from. I will be writing a post on how to do this task using MusicBee. I myself use MusicBee to manage and convert my files. But since converting files in MusicBeen involves a few more steps than iTunes I will be writing the instructions on a separate post.
With that being said, here are the steps to convert other audio files to mp3 format in iTunes:
1. Download and install iTunes if you do not already have it.
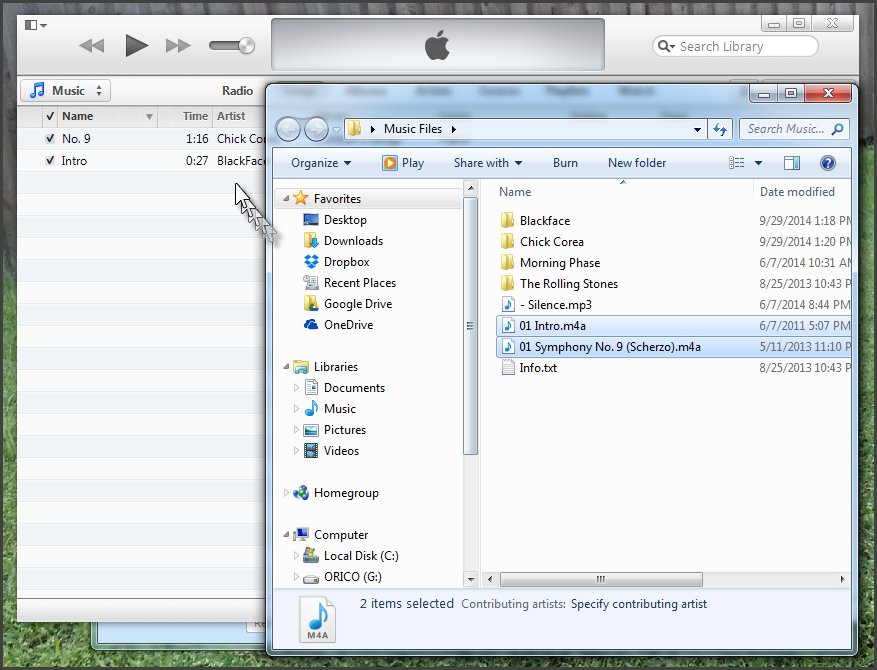
2. Load your files by dragging them to iTunes.
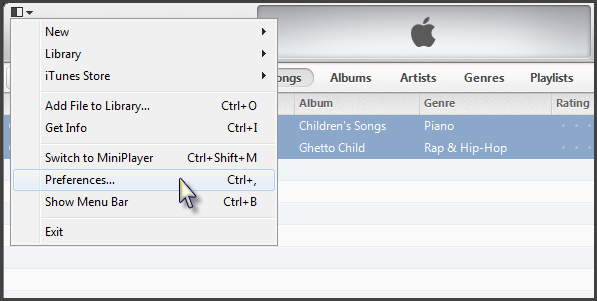
3. Click on the icon on the top left corner and click on “Preferences…”.

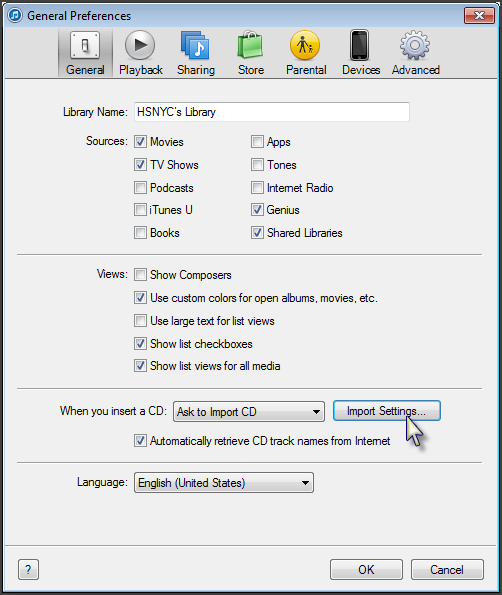
4. Click on “Import Settings…”.
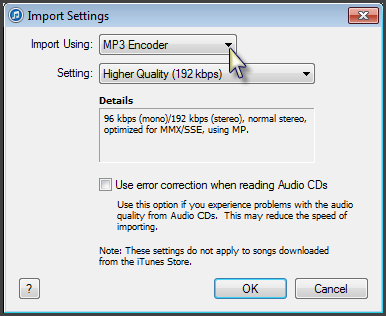
5. On the first drop down select “MP3 Encoder” and then select the desired audio quality. I usually select the highest available which in this case is 192kbps. Click “OK” to close the Import Settings and General Preference windows.
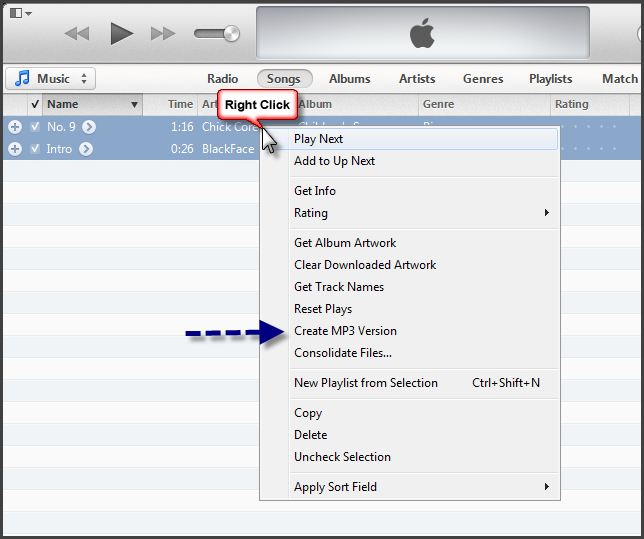
6. Select files to be converted (hold down Shift + Click to select a range). Right click on the files and click on “Create MP3 version” from the menu.
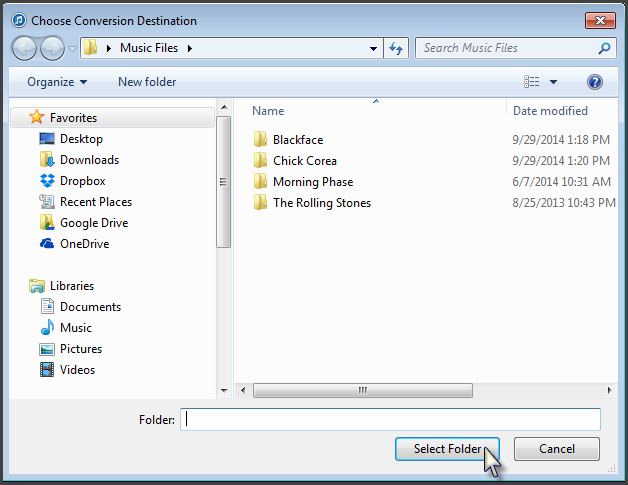
7. Browse to select the Conversion Destination. This is where you will like to save the converted files. Once you browse to the folder, click on “Select Folder”.
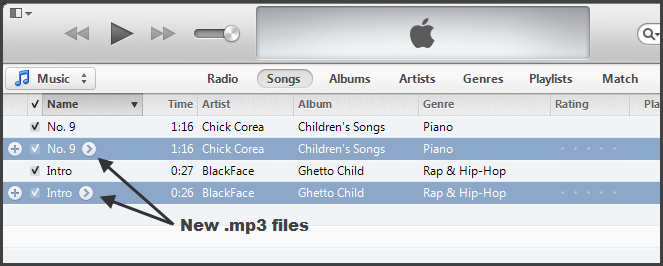
8. You will now see the new mp3 files appear in iTunes next to the existing files.
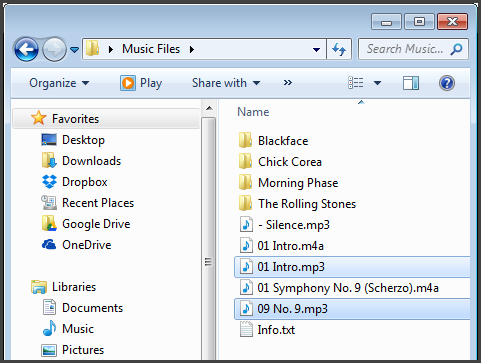
9. If you open the folder, you will also see the files there.
That is all there is to it.
I hope this post helps you get closer to your goal in organizing your music files.
Thanks for reading and supporting MusicZen. Be well.
By hsnyc
Hi, I see you select 192kbs for the import. Perhaps it might be that I am using iTunes on a PC, but I click on “custom” and select 320kbs. I’ve had the ability to select 320kbs for years on iTunes. Again, maybe just PC (although I doubt it because an Apple is way better at encoding music)
Hi Todd, I selected the 192kbs since most of my other mp3 are the same rate. Although I may be using 320kbs for now on since I just upgraded my hard drive space 🙂